Transfer project from theme 2.0 to a new 3.0 theme
- Open your current presentation project
- Copy all slides
- Open the 'Warna Framework 3.0' PPTX file
- Paste all slides in it
- Select all slides
- Click the slide layout and select either Warna Cover or Warna Default to apply to all slides.
- Copy all slides again
- Paste all slides in your new theme
- Select all slides and choose 'Warna Default' except for front cover use 'Warna Cover'.
- Done!
- You can start editing your presentation.
- (Recommended) Click 'Reset' to reset all slides after pasting or if you see anything wrong with the theme.
Now you can start transfer your project to any theme you want.
Screenshots
Please make sure you have installed Warna XML Colors/Fonts
Select SLIDE LAYOUT > CHOOSE ANY LAYOUT COLOR YOU WANT
- Warna Cover: Presentation front page
- Warna Default: Theme Default
- WAC: Accent Color
- WGC: Gradient Color
- WEH: Extra Header - Additional header layout (Default Color)
- WB: Blank (Blank slide without slide title and subtitle)
- WMC: Media Content (Video)
- WEM: Extra (Additional slide master with default style)
If there is a problem in the color scheme and font type settings, you can do it directly from Slide Master.

Screenshots
(Option 1) Distorted Images
Right-click Image > Format (Picture Tools) > Crop > Choose 'Fill' to fix your problem.

(Option 2) Add Image in Icon/Vector Graphics
To make your presentation more interesting, you also can use vector icon as an image placeholder.
- Select the icon you want
- Copy and paste into your project
- Enlarge your icon
- Select your icon and right-click
- Choose Format Shape
- Fill (Picture & Texture Fill)
- Insert picture from file
Make sure your icon or vector is grouped before adding an image.
If your picture looks like picture No. 3 (Step 4), try turning on 'Tile picture as texture’.
It's not a real solution, but since it works to make your pictures better, you can use this way.


How to replace the image placeholder with your image


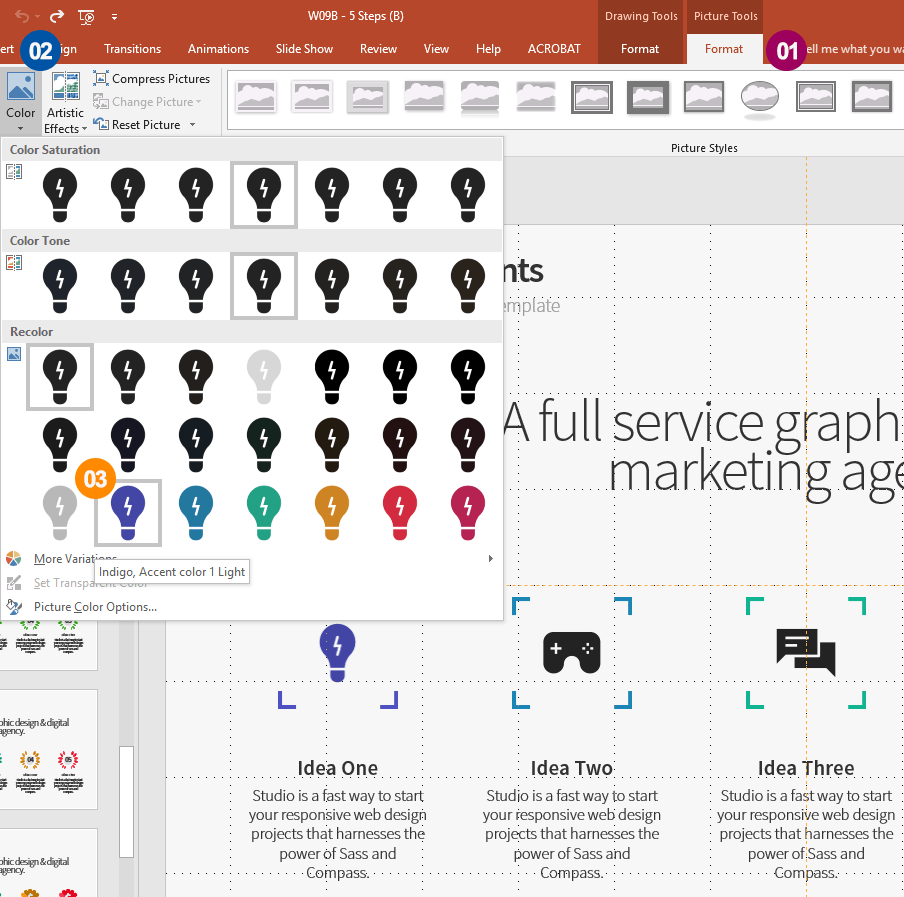
You can apply multiple color effects to your picture.


Find the slides you want easily


Easy way to remove/hide ‘Slide Title’ and ‘Subtitle’ from your slides

Inconsistent slide number? Want to delete it?


A quick guide to downloading and installing the fonts needed to edit this template.